The Shape Painter Tool
The Shape Painter Tool lets you add and subtract from a selected shape as well as paint hard and soft edge freehand brush strokes. You can vary the size, angle, and hardness or softness of the stroke using the settings on the Infobar. The stokes are vector shapes and can be edited with the Shape Tool and the Shape Tool Smoothing slider. You can use the Shape Painter Tool to extend a selected shape, or hold down the Shift key and erase from the selected shape. So it becomes a brush and an eraser all rolled into one tool.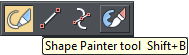
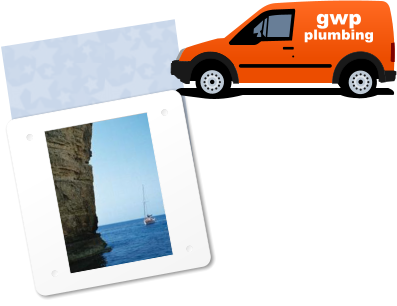
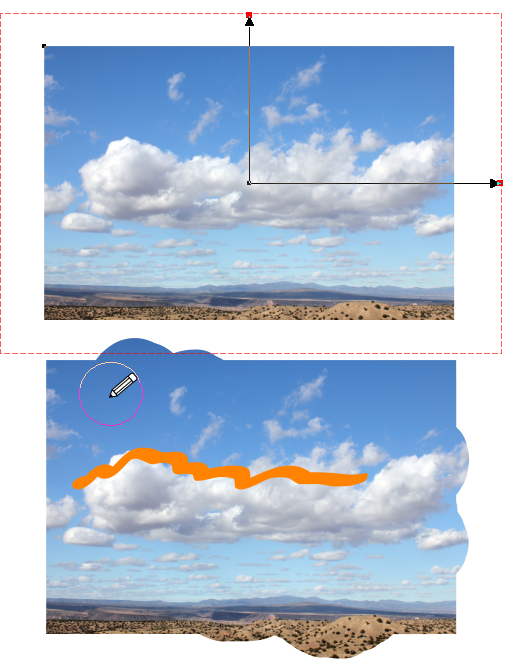
The photo on the right has
been cropped and the entire
image actually extends
beyond the rectangle in
which it is clipped. Using the
Shape Painter Tool I was
able to add to the photo
creating more cloud shapes.
I also painted an orange
shape over the photo as
shown in the image on the
right below.
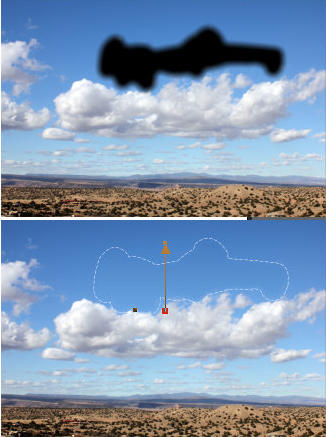
In the example on the left, I added a soft shape to
the non-selected photo that covered some wispy
clouds I wanted to remove. I applied a Linear fill
with the Fill Tool to the soft-edged shape
matching the lighter and darker sky colors to
create a seamless patch. If you use a tablet (and
you can draw), you are going to love the Shape
Painter Tool.
Object Recoloring
This is one of the most colorful new features. And it is so simple it does not require much explanation. In the example below, I have added a Sticker from the Designs Gallery > Page Elements. But instead of the bronzey orange, I wanted the color to be magenta. I simply dragged the color from the screen palette (you can also drag a color from the Color Editor) and dropped it onto the sticker. The dialog on the left appears and asks which color I want to replace. I selected Theme Color 1a and pressed Replace. And quicker than you can say, Bob’s your uncle, the bronzey orange became magenta! The white and the shadow color can also be replaced.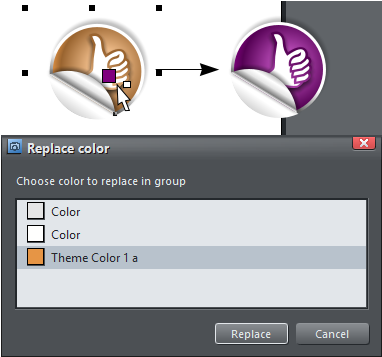
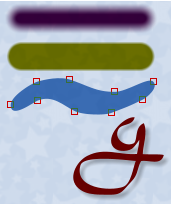
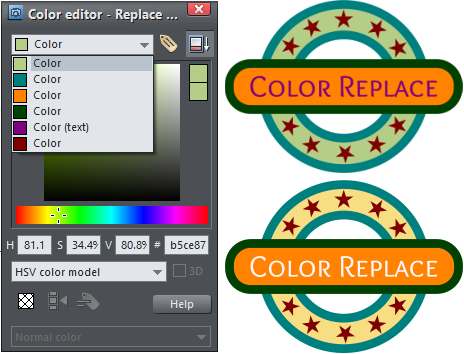
The Color Editor can be used to
replace and/or edit colors. In the
example on the right, I selected the
grouped graphic, opened the Color
Editor and edited the green color and
the color of the text. All colors in the
group appear in the drop down list so
editing one or more of the colors is all
done at the same time.
If you have a Navigation Bar or buttons
that you are using for a website, you can
edit both the visible MouseOver button
as well as colors for the button on the
MouseOff layer which is hidden behind
the MouseOver button.
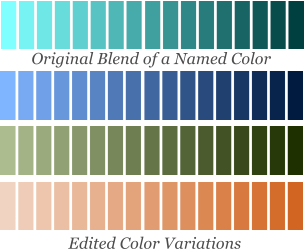
If you are editing a Named Color (each of the
groups of colors on the screen palette are
instances of Named Colors), then editing one
color changes all of the other colors as well.
This is great if you have created an illustration
or graphic using named colors and then you
want to quickly audition other color variations.
Move the Hue slider in the Color Editor or use
the Value and Saturation sliders to edit the
colors. The possibilities are endless.


So what are you waiting for? Click here to download your free 30 day trial version
today. There are a lot of really cool goodies packed into this powerful, easy to learn,
easy to use software package.
And remember, help is right at your fingertips. Visit TalkGraphics.com and go directly to
the Xara Graphics Chat Forum. The members are friendly, helpful, knowledgeable and
supportive. And show us your creations in the TalkGraphics Xara Art Gallery.
NOTE: This First Look review was written with a pre-release version of Xara Photo &
Graphic Designer 9. Some features may change and some methods may be different in
the final released version.
More Colorful Improvements
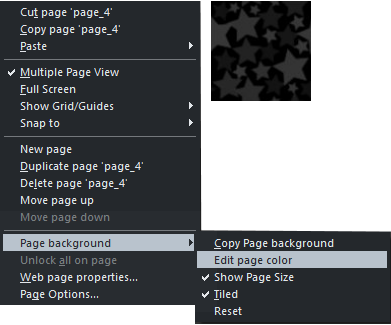
Adding color to your page is now even easier. You can drag and drop a color or a bitmap onto the page or pasteboard area (hold down the Ctrl key to drop a bitmap). OK, this is not new. But Now you can right click on the page and select Edit Page Color and edit the color in the Color Editor. But wait, it gets better! I created the dark gray tiling bitmap (shown above) for my page background. I right click on the page and select Edit Page Color. The Color Editor opens up and I can edit both the light and dark Contone colors creating the subtle gray blue and pale gray tiling background. You can edit the two colors til the cows come home.Other Changes and Improvements
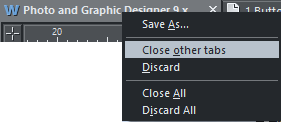
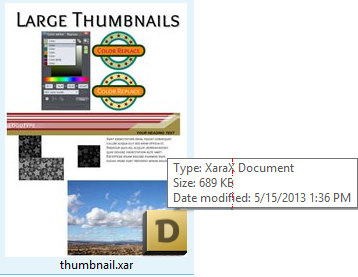
If you right click on the page tab or tabs at the top of the screen , you now get a menu of handy options as you can see in the screen capture on the right. Windows 7 and 8 have a Windows Explorer > View setting Extra Large Thumbnails, which makes it easier to determine the content of your .XAR and .WEB files as you can see on the screen capture on the left. The large thumbnail is in fact a small bitmap of the entire page. Faster, Better Quality JPEG Support. I won’t get technical, but exporting JPEG images is now faster and the image quality is a bit better. OK? For those of you who are design and/or time challenged, not to worry. Not only do you get a first rate set of design and photo editing tools with Xara Photo & Graphics Designer 9, you also get a wealth of clip art, photos, templates, pre-built presentations, and just about everything but the kitchen sink, and for all I know, you’ll find a kitchen sink also in the clip art section.
Gary W. Priester created and hosted the Xara Xone from
1995 – 2012. A native of Los Angeles, California, he now
resides in Placitas, New Mexico where he is semi-retired.
Priester is the author of 5 books of 3D stereograms and
creates custom 3D stereograms for advertising and sales
promotion. Visit his website or write him a note.


Xara Products
Xara Products
Legal & Contact Info
About The Xara Xone
Where content is provided by third parties, the copyright holder is indicated. Trademark notice.