
Xara Designer Pro X11 First Look — By Gary W. Priester
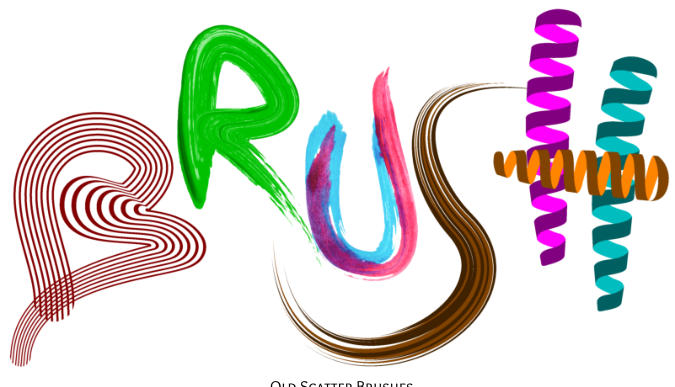
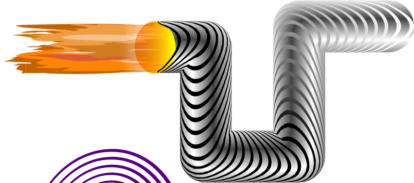
Old Scatter Brushes
[Click image to see New Art Brushes]
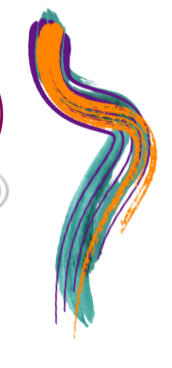
Art Brushes
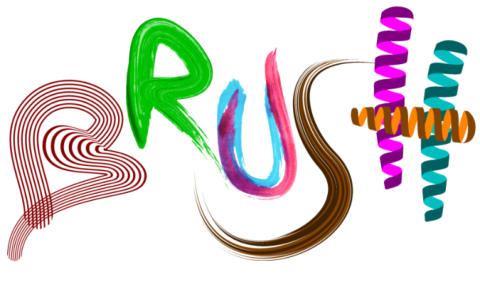
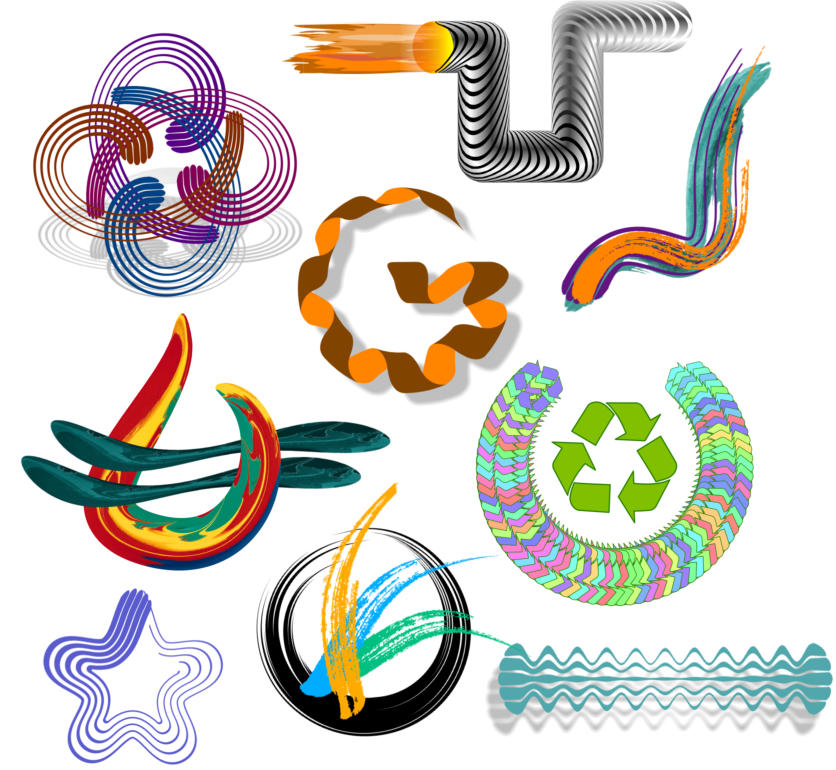
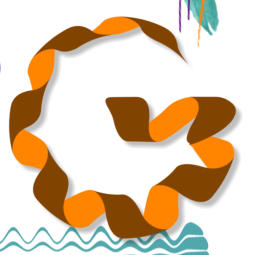
Recent versions of Designer Pro have included what are now called Scatter Brushes, shown above . Click the image and you will see just a few of the all new Art Brushes. Unlike the scatter brushes that repeat the same shape to create the brush stroke, the new Art Brushes mold and stretch to create more realistic brush strokes. You can create your own custom Art and Scatter Brushes like the examples below.New Liquify Plug-In Shape Editing
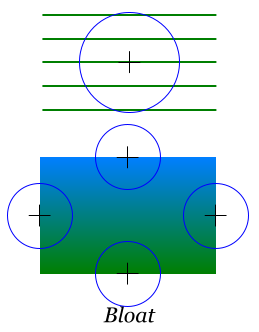
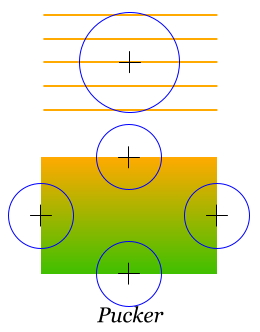
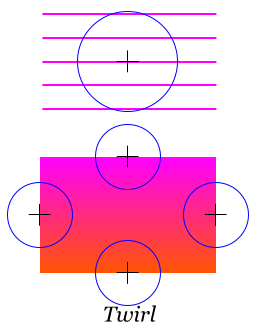
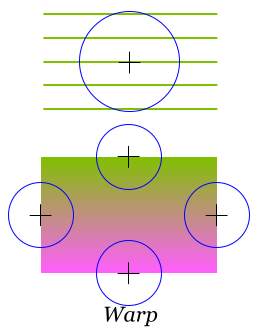
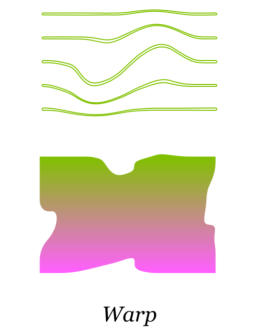
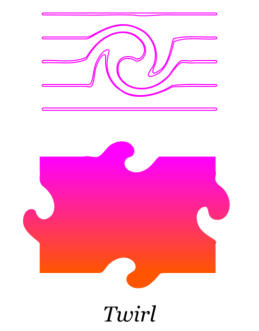
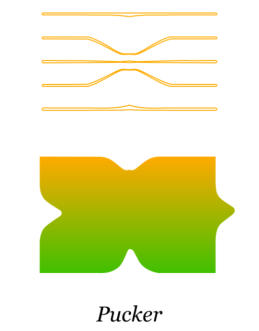
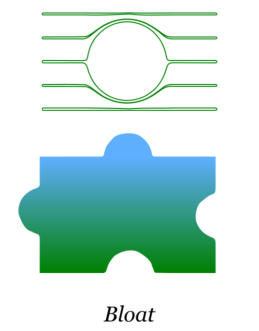
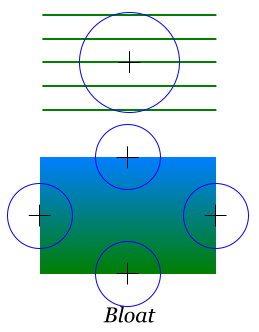
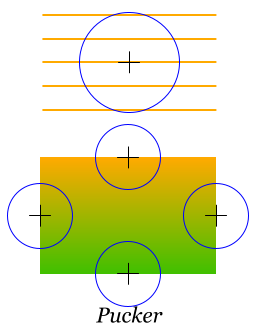
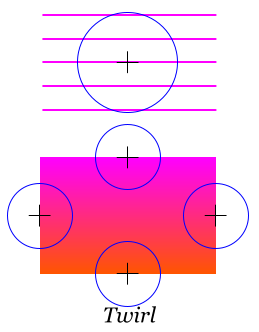
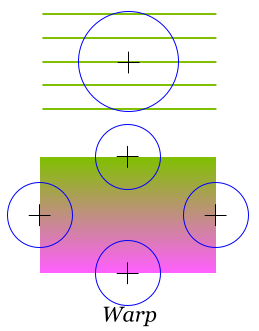
The Liquify Plug-In Shape Editing Tool lets you edit a line, or vector shape in a variety of ways. This new capability is better seen than explained. Mouse over the images below to see how these work. The circles represent the brushes and brush size. Press or drag the tool over the object you wish to modify.

Mouse over to
see results
Mouse over to
see results
Mouse over to
see results
Mouse over to
see results

Intersect All Shapes
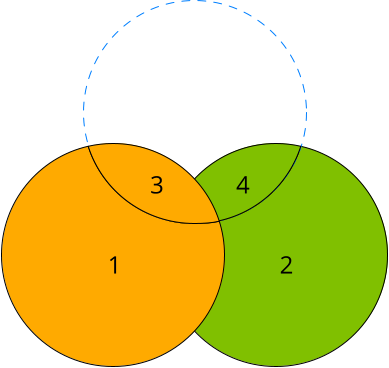
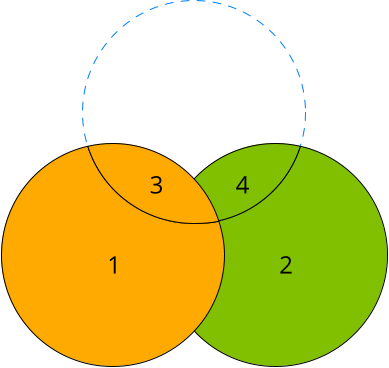
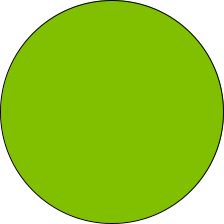
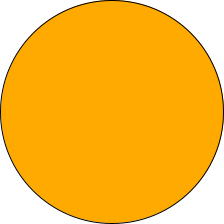
A new operation has been added to the Combine Shapes feature: Intersect All Shapes. Mouse over the two options above to see what the difference between the two operations.

New Blend Modes (Transparency Types)
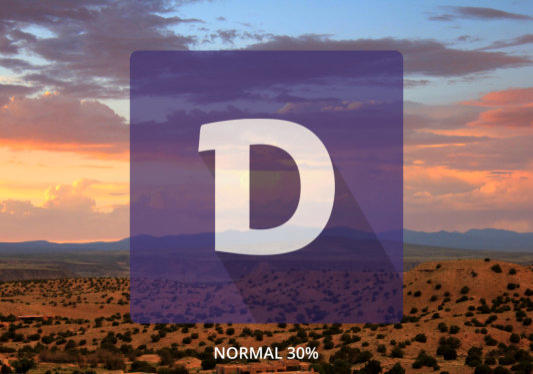
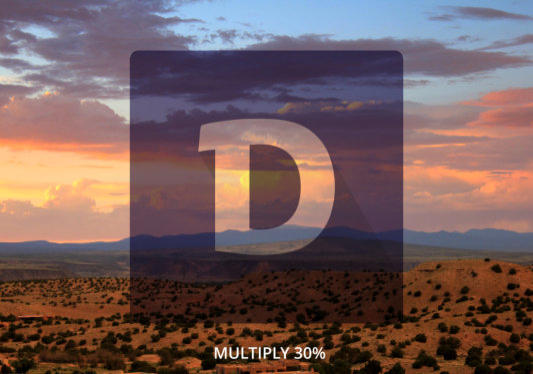
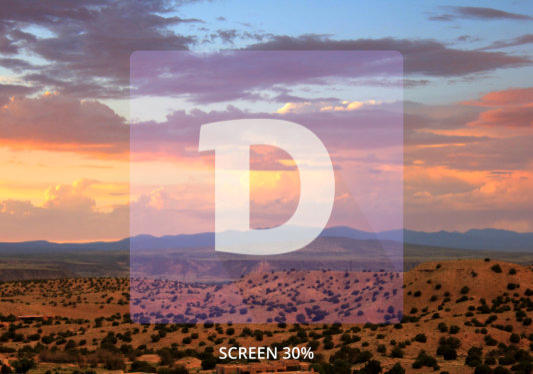
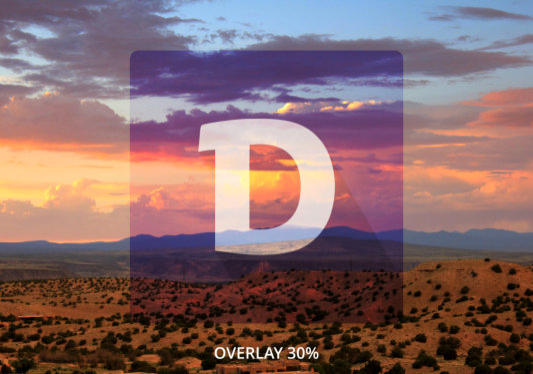
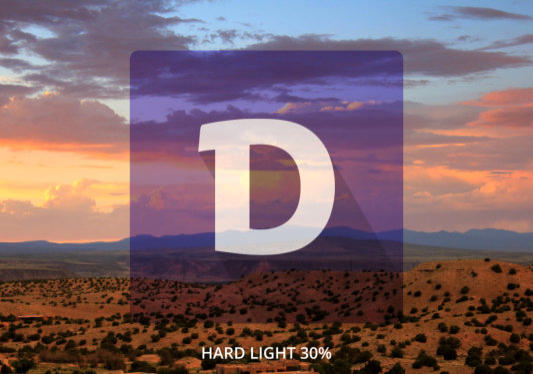
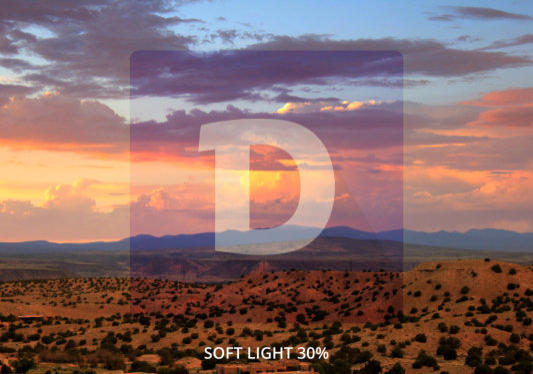
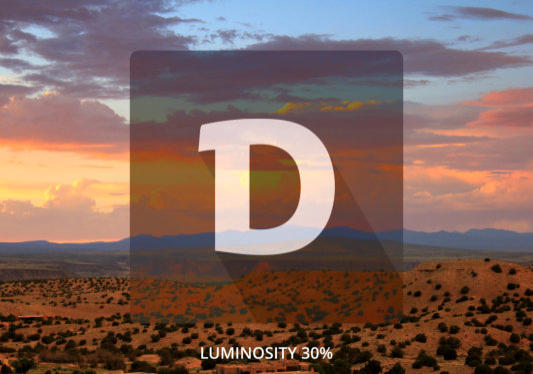
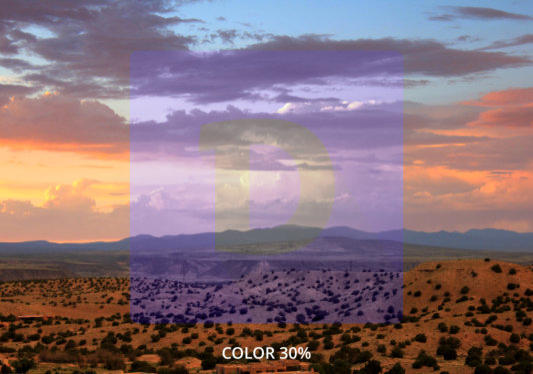
The Transparency Types have been updated to be compatible with W3C (World Wide Web Consortium) standards. Mix, Stained Glass, and Bleach have been renamed using their industry standard names: Normal, Multiply, and Screen. Luminosity and Color have been modified to match W3C standards. Enhance remains the same (Enhance uses the Photo Tools > Enhance controls to adjust the transparency). Three new transparency types have been added: Overlay (a combination of Screen and Multiply) and can used to boost the contrast of an image. Hard Light and Soft Light are similar to Overlay but in slightly different ways. I have created some examples below.Tiny Surprises Department: A New Spiral SmartShape
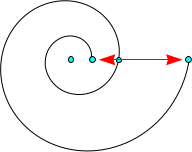
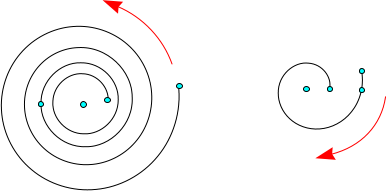
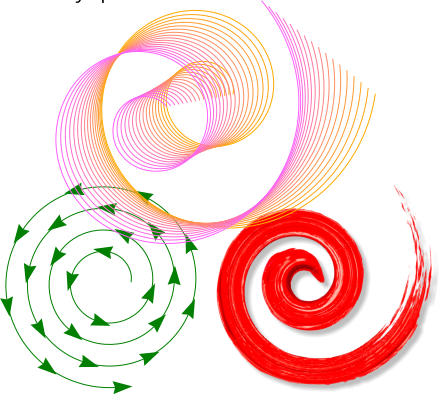
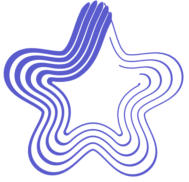
When I first saw the new Spiral SmartShape, I said to myself, just how smart can a spiral be? Yes, I can stretch it and scale it, but that’s not so smart. But when I started to edit it with the QuickShape Tool (just double click the spiral and the QuickShape Tool is automatically enabled), I realized that big things come in small packages. The new Spiral SmartShape is a work in progress and may evolve over the next few months. (Insert > Shape > Spiral) TIP: It is not immediately apparent that you edit the spiral with the QuickShape Tool. But here is one of my favorite Xara features: double click on anything, from the spiral, to text, to a photo, etc., and Xara automatically switches to the right tool for the job. An extra control point along the spiral changes the type of spiral from Logarithmic to Archimedian. Just drag this control point in or out and then spiral goes from one type to the next.
Drag the outside point anti-
clockwise to add more rings
Drag the outside point to
scale the spiral
Drag the outside point
clockwise to diminish rings

Click Transparency
Types to See Results
Normal (Mix)
Multiply (Stained Glass)
Screen (Bleach)
Overlay
Hard Light
Soft Light
Luminosity
Color


![[A Logarithmic Spiral] Fun with Spirals [An Archimedian Spiral] Drag the control point to determine the spiral type](index_htm_files/3609.jpg)


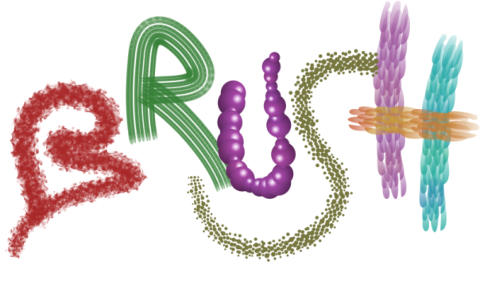
Old Scatter Brushes
[Tap image to see New Art Brushes]
Art Brushes
Recent versions of Designer Pro have included
what are now called Scatter Brushes. Click the
image and you will see just a few of the all new
Art Brushes. Unlike the scatter brushes that
repeat the same shape to create the brush
stroke, the new Art Brushes mold and stretch
to create more realistic brush strokes. You can
also create your own custom Art and Scatter
Brushes, from just about anything like the
examples below.
New Liquify Plug-In Shape Editing
The Liquify Plug-In Shape Editing Tool lets you
edit a line, or vector shape in a variety of ways.
This new capability is better seen than
explained. Tap the example below to see how
these work. The circles represent the brushes
and brush size.
[Tap to see results]
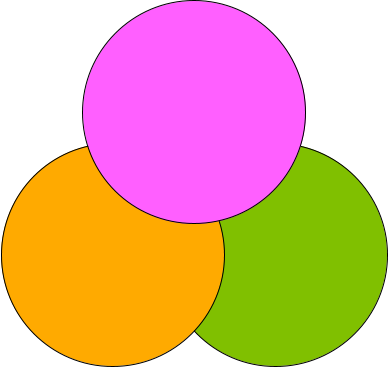
Intersect All Shapes
A new operation has been added to the
Combine Shapes feature: Intersect All Shapes.
Tap the two options above to see what the
difference between the two operations.


New Blend Modes
(Transparency Types)
The Transparency Types have been
updated compatible with W3C
(World Wide Web Consortium)
standards. Mix, Stained Glass, and Bleach have
been renamed using their industry standard
names: Normal, Multiply, and Screen.
Luminosity and Color have been changed to
their W3C specification. Enhances remain the
same (Enhance uses the Photo Tools >
Enhance controls to adjust the transparency).
Three new transparency types have been
added: Overlay (a combination of Screen and
Multiply) that can used to boost the contrast of
an image. Hard Light and Soft Light are similar
to Overlay but in slightly different ways.

Tiny Surprises Department:
A New Spiral SmartShape
When I first saw the new Spiral SmartShape, I
said to myself, just how smart can a spiral be?
Yes, I can stretch it and scale it, but that’s not so
smart. But when I started to edit it with the
QuickShape Tool (just double click the spiral
and the QuickShape Tool is automatically
enabled), I realized that big things come in
small packages! The new Spiral SmartShape is
a work in progress as well as a work of art, and
will evolve over the next few months.
Drag the outside point
anti-clockwise
to add more rings
Drag the outside point to
scale the spiral
Drag the outside point
clockwise to diminish rings

Fun with Spirals
[Tap to see results]
[Tap to see results]
[Tap to see results]
An extra control point changes the type of
spiral from Logarithmic to Archimedian. Just
drag this control point in or out and the spiral
goes from one type to the next.
[Tap dot to see results]
[Tap dot to see results]
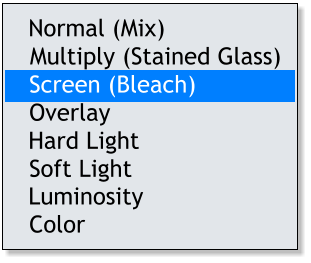
New Blend (Transparency) Menu
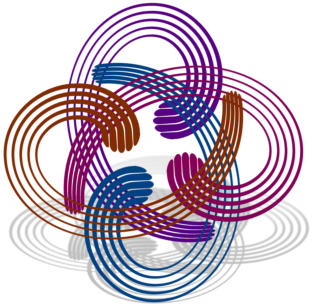


[A Logarithmic Spiral]
[An Archimedian Spiral]


Drag the control point to determine the spiral type
